
From Floor Plan to Full Walkthrough: A Step-by-Step Visual Content Strategy for Pre-Sales Success
Selling a property before it’s built has always been a challenge. Buyers are asked to imagine a finished home based on technical drawings, flat floor plans, and written descriptions, all while making one of the largest financial decisions of their lives.
That’s where a strategic visual content pipeline changes everything.
By combining floor plans, photo-realistic renderings, animations, and interactive walkthroughs, developers, builders, and real estate teams can create a seamless pre-construction marketing experience that builds confidence, drives emotional connection, and accelerates sales.
Below is a step-by-step breakdown of how to move from floor plan to full walkthrough, and why each stage plays a critical role in pre-sales success.
Step 1: Start with Optimized Floor Plans
Floor plans are the foundation of every project, but they’re often misunderstood by buyers.
While architects and builders can read plans easily, most buyers struggle to visualize scale, flow, and functionality. This is why enhanced floor plans are the first opportunity to improve clarity.
Best practices for pre-sales floor plans include:
Clean, simplified layouts that are easy to read
Clear room labeling and logical flow
Optional furnished versions to show real-world scale
Optimized floor plans help buyers understand how the home works, setting the stage for deeper visualization in the next steps.
Step 2: Bring the Design to Life with Photo-Realistic Renderings
Once the layout is clear, it’s time to answer the most important buyer question:
“What will this actually look like?”
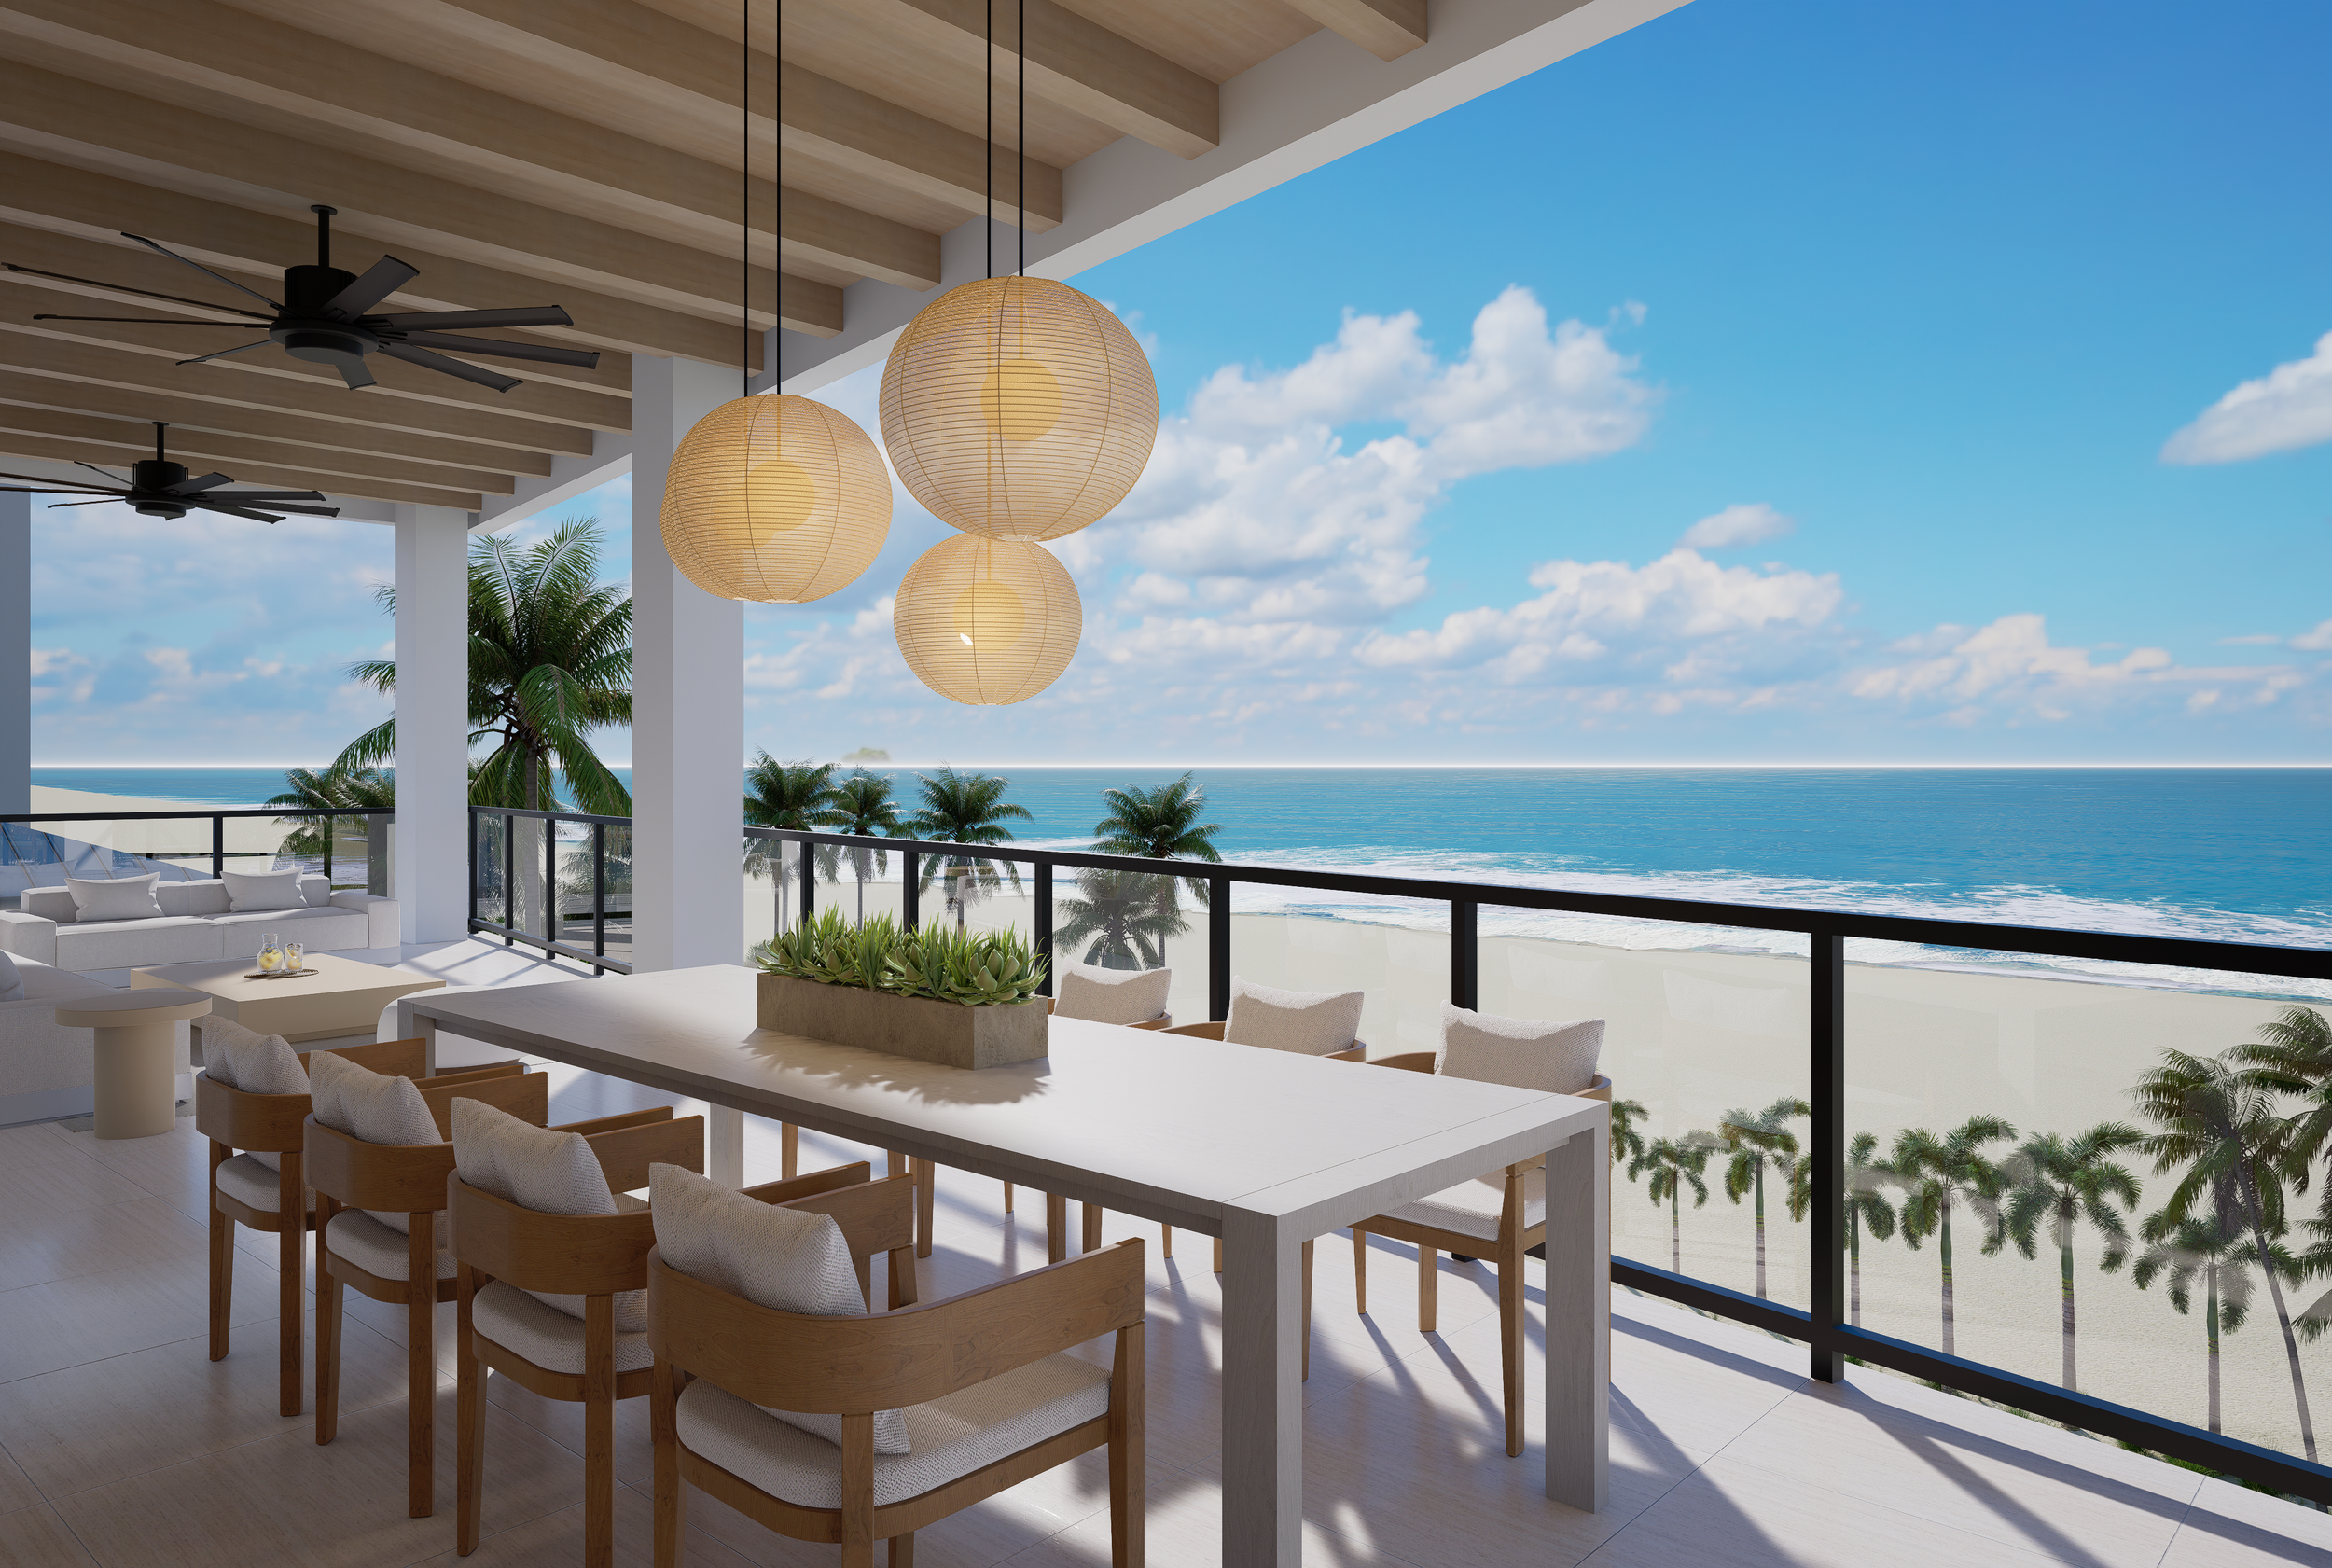
Photo-realistic 3D renderings bridge the gap between technical drawings and real-world perception. They allow buyers to see finishes, materials, lighting, and architectural details long before construction begins.
Effective pre-sales renderings typically include:
Exterior hero shots for marketing and listings
Key interior spaces (kitchen, living room, primary bedroom)
Lifestyle-focused angles that show how the space will be lived in
For luxury, custom, or design-forward homes, these visuals aren’t just helpful — they’re often expected.
Step 3: Add Context with Aerial & Site Renderings
For many developments, especially multi-unit projects, ADUs, or custom homes in premium locations, context matters just as much as the home itself.
Aerial and site renderings show:
How the home sits on the lot
Relationship to surrounding structures or landscapes
Driveways, outdoor spaces, and orientation
This step helps buyers understand not just the home, but the experience of the property, a key factor in emotional buy-in.
Step 4: Elevate Engagement with Animations
Static images are powerful, but motion adds another layer of storytelling.
Short architectural animations or fly-through videos guide viewers through the space, highlight transitions between rooms, and showcase architectural intent in a way still images can’t.
Animations are especially effective for:
Landing pages and pre-sales websites
Social media and digital ads
Investor or stakeholder presentations
They keep viewers engaged longer and help them mentally “walk” through the property, increasing familiarity and confidence.
Step 5: Deliver the Full Experience with Interactive Walkthroughs
The final step, and often the most impactful, is the interactive 3D walkthrough or virtual tour.
Unlike videos, interactive walkthroughs allow buyers to explore at their own pace. They can move from room to room, revisit spaces, and fully understand the layout as if they were physically inside the home.
Interactive experiences are ideal for:
Out-of-state or international buyers
Pre-sales before a model home exists
Online listings and dedicated project websites
This level of immersion significantly reduces uncertainty, shortens decision cycles, and helps buyers feel comfortable committing earlier in the process.
Why a Step-by-Step Visual Strategy Works
Each visual asset builds on the last:
Floor plans establish understanding
Renderings create emotional connection
Animations tell the story
Walkthroughs close the gap between imagination and reality
When used together, these tools:
Increase buyer confidence
Reduce back-and-forth questions
Help pre-sell homes faster and more efficiently
Support higher perceived value before construction begins
Instead of asking buyers to imagine the final product, you’re showing it to them clearly, beautifully, and convincingly.
Turning Vision into Sales
A strong pre-construction visual strategy isn’t about creating more content, it’s about creating the right content at the right time.
By guiding buyers from floor plan to full walkthrough, you remove friction, build trust, and allow your project to stand out in an increasingly competitive market.
At Stridis Renderings, this end-to-end approach is how we help developers, builders, and real estate teams transform ideas into compelling sales tools — long before the first shovel hits the ground.